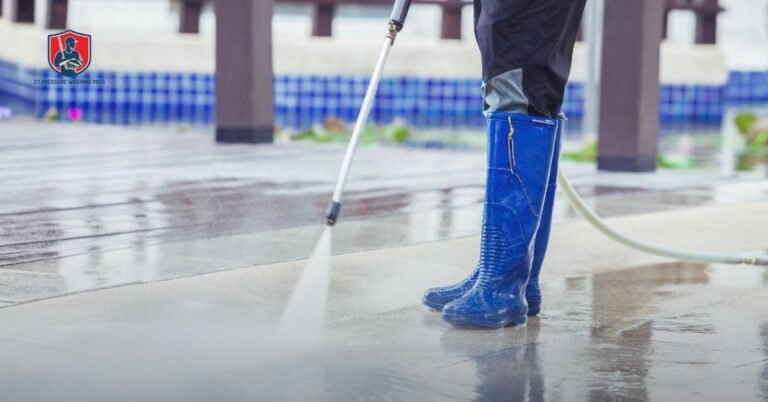
Pressure washing blasts away years of dirt, grime, and mildew—fast. It’s one of the easiest ways to freshen up a driveway, deck, or siding without hiring a crew. That’s why so many homeowners decide to do it themselves. It feels like an easy weekend win: rent or buy a machine, spray, and enjoy the results.
DIY pressure washing can save money and give you control over the job. No waiting around for a contractor or paying for something you feel you could do yourself.
But here’s the catch—use the wrong nozzle, stand too close, or aim at the wrong surface, and you could crack concrete, strip paint, or waterlog your siding. A simple cleaning project could turn into an expensive repair job.
So read on. This guide explains exactly what to do—and what to avoid—to clean smarter, not harder. Whether washing a patio or prepping for paint, these tips will help you get pro-level results without the price tag or the pitfalls.
Table of Contents
What Is Pressure Washing and When Should You Do It?
Pressure washing uses high-pressure water to clean surfaces like concrete, wood, vinyl, and more. It’s one of the easiest ways to remove dirt, mildew, old paint, and stains without hours of scrubbing. Whether you’re refreshing a patio or prepping for paint, it’s a solid go-to for outdoor cleaning.
Two key things matter in any pressure washer: PSI and GPM.
- PSI (Pounds per Square Inch): This measures how strong the water pressure is.
- GPM (Gallons per Minute): This tells you how much water flows through the machine.
The right balance of PSI and GPM makes all the difference. Go too strong, and you could damage the surface. Too weak, and you’re wasting time.
Common Use Cases for DIY Pressure Washing
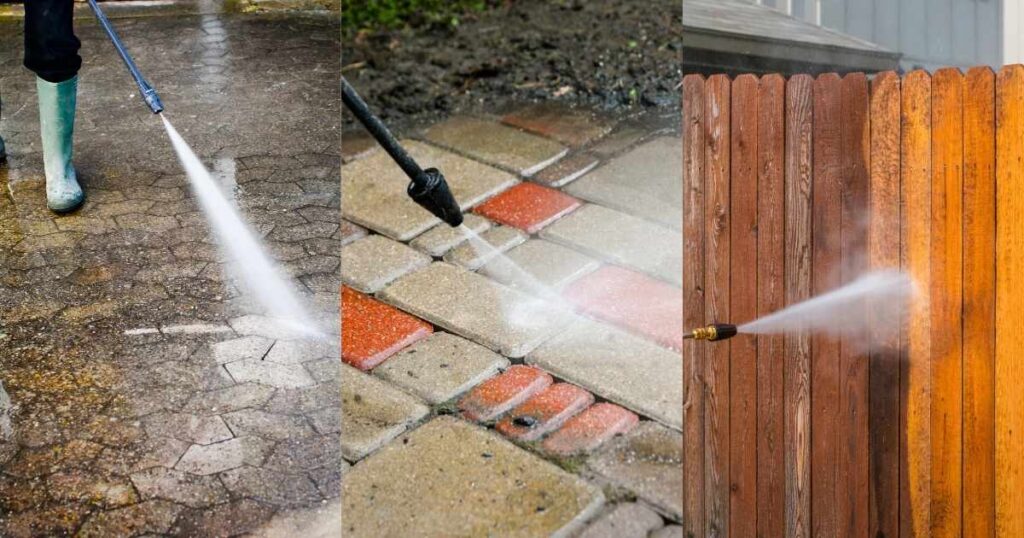
Pressure washing isn’t just about cleaning—it’s about doing it fast and efficiently. Here are jobs where it shines:
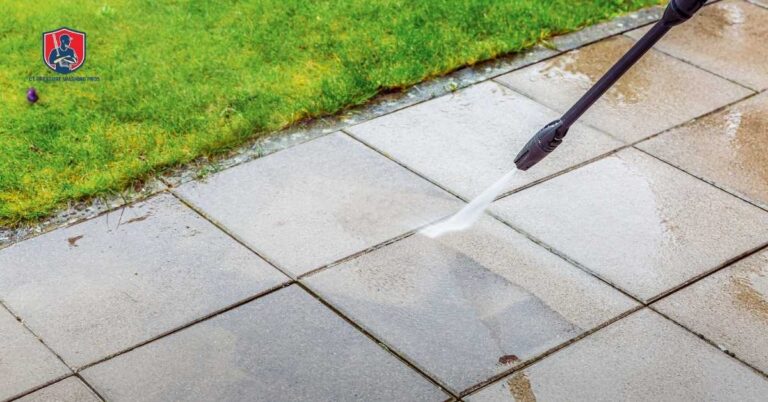
- Driveways and sidewalks: Easily remove oil stains, dirt, and slippery green buildup.
- Siding and decks: Clean off grime, mildew, or dirt without damaging the surface (as long as you use the right tip and distance).
- Paint and stain prep: Clear away old flakes and buildup so new paint or stain sticks better.
- Fences and gutters: Reach tricky spots and clean up years of gunk without climbing or hand-scrubbing.
When NOT to Pressure Wash
But here’s the part people often overlook—pressure washing isn’t for everything.
Avoid using it on:
- Old wood or cracked siding: The force can tear into soft material or push water underneath.
- Asphalt shingles: High pressure can knock them loose or shorten their lifespan.
- Brick with loose mortar or crumbling surfaces: You might blast pieces off.
Also, pressure washing doesn’t fix everything. If you’re dealing with mold, algae, or grease deep in the surface, plain water won’t cut it. That’s when you’ll need a proper cleaning solution—or even professional help.
DIY Pressure Washing: Key Dos
Pressure washing can yield great results if you follow a few key rules: Use the right equipment, prep properly, and apply good technique. Let’s break it down.

1. Choose the Right Pressure Washer for the Job
For most homes, an electric pressure washer is enough. They’re quieter, easier to handle, and safer for small jobs like decks, siding, and patio furniture. However, a gas-powered model provides more pressure and water flow, making it ideal for tackling large driveways or heavy buildup.
Look at the specs:
- PSI (Pounds per Square Inch): Tells you the water pressure. For residential jobs, aim for a pressure of 1,300–2,800 PSI.
- GPM (Gallons per Minute): The higher the GPM, the faster you clean.
Ensure your machine has interchangeable nozzles or an adjustable tip; you’ll need different spray angles for different tasks.
2. Gear Up and Grab the Right Attachments
Before you start, suit up:
- Wear safety glasses, rubber gloves, and non-slip boots—the spray is stronger than it looks.
- A surface cleaner attachment gives you better coverage and fewer streaks for large flat surfaces.
- Extension wands help you reach higher spots safely—skip the ladder.
- Choose the right detergent for your surface (wood, vinyl, concrete), and make sure it’s pressure washer–safe.
3. Prep the Area Before You Wash
Don’t skip this step. A few minutes of prep saves hours of cleanup.
- Inspect the surface first. Look for cracks, peeling paint, or soft spots. Seal or patch them before washing.
- Cover anything nearby—plants, electrical outlets, vents, and windows—and move any furniture or fragile décor out of the way.
- Run a quick test spray on a hidden spot. Always start with low pressure, then adjust as needed.
4. Use the Right Nozzle and Spray Pattern
Your pressure washer likely came with different nozzles—each color matters:
- 0° (Red): Very narrow and strong. Rarely needed.
- 15° (Yellow): Good for tough stains on concrete.
- 25° (Green): General cleaning—ideal for decks, siding, and fences.
- 40° (White): Gentle cleaning of cars, windows, or soft wood.
- Soap (Black): Low-pressure nozzle to apply detergent.
Match the nozzle to the surface, and never start too close—you can always move in, but you can’t undo damage.
5. Maintain Distance and Use the Right Angle
Keep the wand about 12–24 inches away from the surface. Stay further back for delicate areas like wood or painted siding.
Spray at a slight angle—not directly head-on. This helps you lift grime without forcing water into seams or cracks.
6. Clean in a Systematic Pattern
Don’t wave the wand around randomly. Use a top-to-bottom and left-to-right approach. Overlap each pass slightly to avoid streaks or missed patches.
Work in sections and keep moving. Holding the wand in one spot too long can gouge or discolor the surface.
7. Use Detergents When Water Isn’t Enough
Plain water works great for light dirt, but detergents help break down oil, mold, and stuck-on grime. Use:
- Biodegradable cleaners for decks, fences, and siding
- Commercial-grade degreasers for driveways or garage floors
Apply detergent using the soap nozzle, let it sit for a few minutes (but don’t let it dry), then rinse with the proper nozzle and water pressure.
DIY Pressure Washing Mistakes: Major Don’ts
Pressure washing feels easy until it goes wrong. One wrong move can crack concrete, strip paint, or flood your siding. So, before you pull that trigger, here are the biggest mistakes to avoid.
1. Don’t Use Too Much Pressure
More pressure doesn’t mean better cleaning. Cranking the PSI too high can leave permanent marks, shred wood, or break windows. Always start with the lowest pressure that gets the job done, and adjust as needed.
For example:
- Concrete can handle more pressure
- Wood, siding, and painted surfaces need a gentler touch
If you’re unsure, test in a hidden spot first. What looks clean might be damaged.
2. Don’t Wash Fragile or Inappropriate Surfaces
Some surfaces just aren’t built for pressure. Avoid using a washer on:
- Asphalt shingles: You’ll loosen them or cause leaks
- Old wood or paint: The water can strip or shred the surface
- Soft brick or cracked mortar: You risk blasting material away
- Stucco or fiber cement: Too much pressure can cause surface erosion or water intrusion
Stick to materials you know can handle it—or call a pro for tricky surfaces.
3. Don’t Skip Checking the Weather
Pressure washing in bad weather is asking for trouble. Wind can blow water and debris everywhere. Rain dilutes detergent and reduces visibility. Freezing temps? Water could turn to ice on walkways.
Choose a dry, mild day with little to no wind. You’ll stay safe and get better results.
4. Don’t Forget to Maintain Your Equipment
A clogged nozzle or damaged hose can ruin the job or cause injury. Before and after each use:
- Check nozzles and tips for blockages
- Inspect hoses and fittings for leaks or cracks
- Empty and store your washer in a dry place
A well-maintained machine works better and lasts longer.
5. Don’t Use the Wrong Nozzle
That little nozzle makes a big difference. A 0° red tip shoots a needle-thin jet of water that can slice through skin, wood, and siding. Unless you’re removing chewing gum from concrete, don’t use it.
One of the most common DIY mistakes is using too narrow a spray angle on delicate surfaces. Stick with 25° or 40° for general cleaning, and always double-check your nozzle before you start.
6. Don’t Spray Electrical Outlets or Fixtures
It sounds obvious, but it happens all the time. Spraying directly at outdoor lights, outlets, AC units, or electric boxes can short out systems or even create shock hazards.
Cover them with plastic or avoid them entirely. Water and electricity don’t mix.
7. Don’t Ignore Runoff or Nearby Drainage
Pressure washing pushes a lot of water around, and sometimes that dirty runoff goes straight into flower beds, sewers, or your basement window well. Always check where the water will drain.
Avoid using strong detergents near plants or storm drains, especially if they’re not biodegradable.
8. Don’t Pressure Wash from a Ladder
This one’s risky. The kickback from the spray can knock you off balance, and wet rungs are slippery. If you need to reach high places, use an extension wand or hire someone with the right gear. Safety first.
DIY vs. Hiring a Professional: When to Call the Experts
Pressure washing looks simple, and for small jobs, it is. However, some situations require more than a weekend project and a rental machine.
When It’s Safer (and Smarter) to Hire a Pro
- Multi-story homes: If you can’t reach it from the ground with an extension wand, don’t risk a ladder and a pressure washer. That combo leads to accidents fast.
- Delicate surfaces: The wrong pressure can ruin soft wood, old siding, or specialty materials. Pros know what settings and cleaners to use.
- Roof cleaning: A regular pressure washer can destroy roofing materials or push water under shingles. Roofs need soft washing, a low-pressure, chemical-based method.
- Mold, oil, or heavy buildup: If stains have been sitting for years or go deeper than surface-level, a pro has the gear and solutions to handle it right.
So read on, think about what’s at stake before grabbing a washer. Some fixes cost way more than a professional cleaning would have.
What About the Cost?
Sure, doing it yourself saves money up front. But buying the right machine, attachments, safety gear, and cleaning solutions adds up fast. Plus, if you damage your deck, windows, or siding, the repair costs won’t be cheap.
On the other hand, a professional brings the tools, skills, and experience and usually finishes the job faster and cleaner.
Bottom line:
- DIY works for basic cleaning—driveways, patios, and small decks.
- Hire a pro if height, safety, or surface damage is a concern.
Conclusion
Pressure washing can be a satisfying DIY job—but only when done right. The real value doesn’t just come from blasting away dirt. It comes from knowing when to hold back, what tools to use, and how to protect what matters around you.
Here’s the takeaway: A pressure washer isn’t magic—it’s a tool. And like any tool, it works best for someone who respects it. Whether doing a quick patio rinse or tackling a weekend deep clean, plan the job like any home improvement project: with care, attention, and a clear understanding of your limits.
If you’re unsure, start small. Practice on safe surfaces, learn your equipment, and notice the details others ignore. That’s what separates a clean finish from costly damage.
And if something feels out of your depth, call a pro. Sometimes the smartest DIY move is knowing when not to DIY at all.